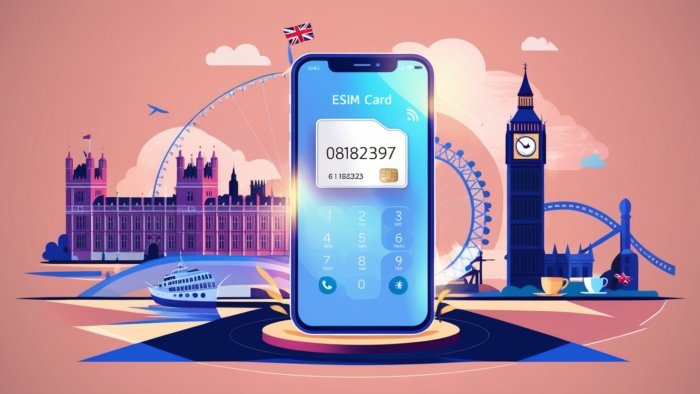
Understanding eSIM Technology
eSIM, or embedded SIM, is a groundbreaking advancement in mobile telecommunications that replaces traditional SIM cards with a digital solution integrated directly into the device. Unlike a physical SIM card, which needs to be inserted into a device to connect to a cellular network, eSIM technology stores the necessary user information in the device’s firmware. This significant shift to a digital platform brings numerous advantages and reflects the evolving nature of mobile connectivity.
One of the primary benefits of eSIM technology is its inherent flexibility. Users can easily switch between different mobile carriers without the cumbersome process of physically replacing a SIM card. This ease of activation streamlines the setup process, allowing users to activate a mobile plan through a QR code or a mobile app, which eliminates the need to visit a store or wait for a physical card to arrive. Furthermore, eSIMs support multiple profiles, enabling users to maintain several mobile numbers on one device, which is especially advantageous for frequent travelers who require different local plans.
In recent years, the popularity of eSIM technology has surged, leading to its adoption in many of the latest smartphone models. Both high-end devices, like the recent iPhone models, and various Android devices are now equipped with eSIM capabilities. This shift not only enhances the user experience but also aligns with the growing trend of sustainability by reducing the production and disposal of plastic SIM cards.
Overall, eSIM technology is paving the way for a more efficient and versatile mobile connectivity experience. As more manufacturers embrace it, we can expect further advancements and applications in the telecommunications landscape.
Preparing Your Device for eSIM Installation
The first critical step in preparing your device for eSIM installation is to ensure compatibility. Not all smartphones support eSIM technology; therefore, it is essential to verify that your iPhone or Android device is equipped with this feature. Generally, most newer models launched in recent years do support eSIM functionality. You can find this information in the user manual or on the manufacturer’s website, specifically in the device specifications section.
Once you confirm compatibility, the next step is to check for software updates. Manufacturers frequently release updates that enhance device performance, fix bugs, and support new technologies. For an optimal eSIM installation experience, navigate to your device’s settings, select “Software Updates,” and ensure your device is running the latest operating system version. This preparation will not only ease the eSIM installation but also contribute to overall device performance.
Before proceeding with the eSIM setup, it is advisable to back up essential data. While eSIM installation is typically a straightforward process, unforeseen issues may arise. Creating a backup of your contacts, photos, and other vital files minimizes the risk of data loss. Both iOS and Android devices offer built-in backup options, such as iCloud for iPhones and Google Drive for Android devices, enabling effortless data restoration if necessary.
Finally, to access the carrier settings for eSIM activation, locate the “Mobile Data” or “Cellular” section within your device’s settings. Here, you can add a mobile plan, which will prompt you to scan a QR code or manually enter the activation details provided by your mobile carrier. Following these outlined steps will ensure your device is well-prepared for a seamless eSIM installation experience.
Step-by-Step Process for Installing eSIM on iPhone
Installing an eSIM on your iPhone is a straightforward process that enhances your connectivity options. To begin, ensure your iPhone model supports eSIM functionality. Once confirmed, the first step is to obtain an eSIM activation QR code or the necessary activation details from your mobile carrier. Many carriers now provide digital setups or emails containing these details, simplifying the process for users.
Next, start your installation by opening the “Settings” app on your iPhone. Scroll down and tap on “Cellular” or “Mobile Data,” depending on your regional settings. Here, you’ll see an option to “Add Cellular Plan.” Select this option, and your iPhone will prompt you to scan the activation QR code you received from your carrier. If you have manual activation details, such as a confirmation code, select the option that allows you to enter these details manually.
Once the QR code is scanned or the details are entered, your iPhone will begin processing the eSIM installation. You will receive a notification confirming that the cellular plan has been added successfully. Ensure to label this plan for easier identification, especially if you are using multiple lines on your device. To activate your eSIM, go back to the “Cellular” settings and set your new eSIM plan as the primary line if desired.
In cases where the installation does not go as planned, consider troubleshooting steps. Ensure you have a stable internet connection, as this is essential for the activation process. Restarting your device can also resolve minor glitches. If issues persist, contacting your carrier for further assistance may be necessary, as they can provide support specific to their service and guidelines. This ensures a smooth experience in utilizing the benefits of eSIM technology on your iPhone.
Step-by-Step Process for Installing eSIM on Android Devices
Installing an eSIM on Android devices is a streamlined process, but it may vary slightly depending on the manufacturer and model. To begin, ensure that your Android device is compatible with eSIM technology, which most recent models support. The first step is to obtain the eSIM activation QR code or the necessary activation details from your mobile carrier. This information is typically provided when you purchase a plan that includes eSIM.
Once you have the activation QR code, proceed to your device settings. Navigate to the “Settings” app on your Android device. From there, select “Network & Internet,” then choose “Mobile Network.” In this section, look for an option labeled “Add Carrier” or “Add Mobile Plan.” Tap this option, and your device will prompt you to scan the QR code. Align the QR code within the scanner box on your screen to complete this step. Some devices may also allow you to manually input the activation details instead of scanning the QR code.
After the QR code is successfully scanned, your device will take a moment to download the eSIM profile. In some cases, you may be required to confirm some additional settings or preferences regarding your mobile plan. Once your eSIM profile is installed, ensure that you enable the mobile data and set the new eSIM as your primary data source if you intend to use it for internet connectivity.
It is essential to note that due to the diversity of Android manufacturers like Samsung, Google, and others, specific steps may vary. If you encounter any issues, refer to the troubleshooting section often available on your carrier’s website. These resources may assist with common problems, such as network connectivity issues or profile installation errors. Following these guidelines will ensure a smooth eSIM activation process on your Android device, enabling you to enjoy the flexibility of this technology.
Leave A Comment
You must be logged in to post a comment